Eight out of ten persons in the United States will have back pain at some point in their lives. It’s an amazing number, and it’s because of how we live today: we spend hours slumped over desks, read through our phones all day, and drive vast distances to work. This constant slouching doesn’t simply hurt for a short time; it also weakens the muscles that hold us up, which makes the pain and bad alignment worse.
But what if the answer wasn’t just a quick fix, but a way to train your body from the inside out? This is what you may expect from doing yoga to help with lower back pain. Yoga is more than simply a series of stretches. It is a whole system that strengthens core strength, enhances flexibility, and helps you become more aware of your body, which are the three things that make up good posture.
This book will talk about the strong link between your spine and your posture, and it will show you the best yoga moves for lower back pain that can help you stand up straighter, walk with confidence, and get rid of chronic pain.
The Vicious Cycle: How Bad Posture Causes Pain in the Lower Back
Before we can understand why yoga works so well, we need to know what the problem is. Your spine has inherent bends that help it absorb shock and spread weight properly. When you slouch, hunch, or make your lower back arch too much (anterior pelvic tilt), you mess with these curves.
Think of your spine as a tall, bendable structure. Good posture maintains the stones of this structure (your vertebrae) arranged neatly. The front, back, and sides of your torso are held up by a balanced network of muscular “guy wires.” Bad posture is like allowing some of those wires get loose while making others too tight.
- Weakened Core: When you slouch, your abs stop working. Your deeper core muscles, such as the transverse abdominis, which works as a natural corset for your spine, get weak and stop working.
- Tightened Muscles: Your hip flexors (from sitting) and chest muscles (from hunching) get shorter and tighter, which pulls your pelvis and shoulders forward.
- Back Muscles That Are Overworked: The erector spinae muscles in your lower back have to work extra hard to keep you upright. They get tired, strained, and hurt.
Most of the time, this imbalance is what causes lower back pain that isn’t specific. You can get a massage or take a pain killer, but the ache will constantly come back unless you fix the underlying posture problem.
How Yoga Can Help You Fix Your Posture in Three Ways
This is where the yoga exercises for lower back pain come in. Yoga doesn’t just stretch out your tight back; it also fixes the muscle imbalances that are making it hurt in the first place.
1. It strengthens your core in a useful way.
Yoga promotes deep, functional core strength, while crunches simply target the “six-pack” muscles on the surface. Poses like Plank, Boat Pose, and even the mild engagement in Triangle Pose teach you how to activate all of your core muscles—the abs, obliques, and lower back—to work together as one. This makes a strong, supporting girdle around your stomach that takes the pressure off your lower back.
2. It brings back balance and flexibility.
A regular yoga workout for lower back pain is great for stretching out the muscles that have been tight for a long time because you sit too much. Gentle yoga movements for lower back pain like Downward-Facing Dog might help loosen tight hamstrings, which can pull on the pelvis and flatten the lumbar curve. Low Lunge and other poses work the hip flexors, which lets your pelvis go back to a neutral position. Yoga helps your bones arrange itself appropriately without putting too much stress on it by restoring this equilibrium in your muscles.
3. It helps you become more aware of your body and mind (proprioception).
This could be the most life-changing advantage of all. Yoga helps you to be aware of your body. You become very aware of where your body is in space via practice. You begin to realise whether you’re slouching at your workstation or rounding your shoulders when standing in line. This awareness is the first and most important step towards changing your posture, not just on the mat but in every part of your life.
The Best Yoga Poses for Fixing Your Posture and Lower Back Pain
Are you ready to begin? This series of yoga postures for lower back pain is safe, works, and is easy for beginners to do. Always pay attention to your body and don’t push through intense pain.
1. Cat-Cow Stretch (Marjaryasana-Bitilasana)
Why it works: This is one of the best yoga positions for lower back pain because it feels like a mild massage for the spine. It helps you move around, warms up your spine, and eases the stress that comes from sitting. It also starts the process of linking your breath to your movement.
How to do it:
- Get on your hands and knees and put them on the table. Your knees should be under your hips, and your wrists should be beneath your shoulders.
- Inhale (Cow Pose): Let your belly fall towards the mat, elevate your chest and tailbone, and look forward. Make a soft curve in your spine.
- Exhale (Cat Pose): Press your hands into the floor and round your spine towards the ceiling. Tuck your chin to your chest and your tailbone beneath. Picture a cat that is mad.
- For 8 to 10 breath cycles, keep moving between these two stances.
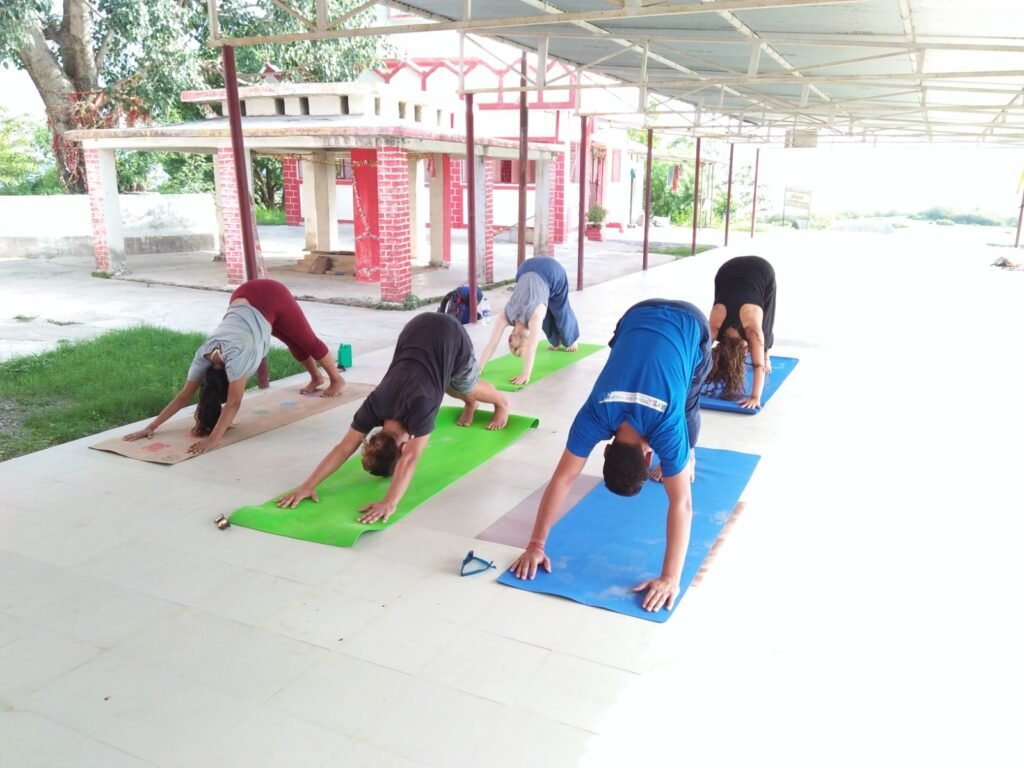
2. Adho Mukha Svanasana, or Downward-Facing Dog
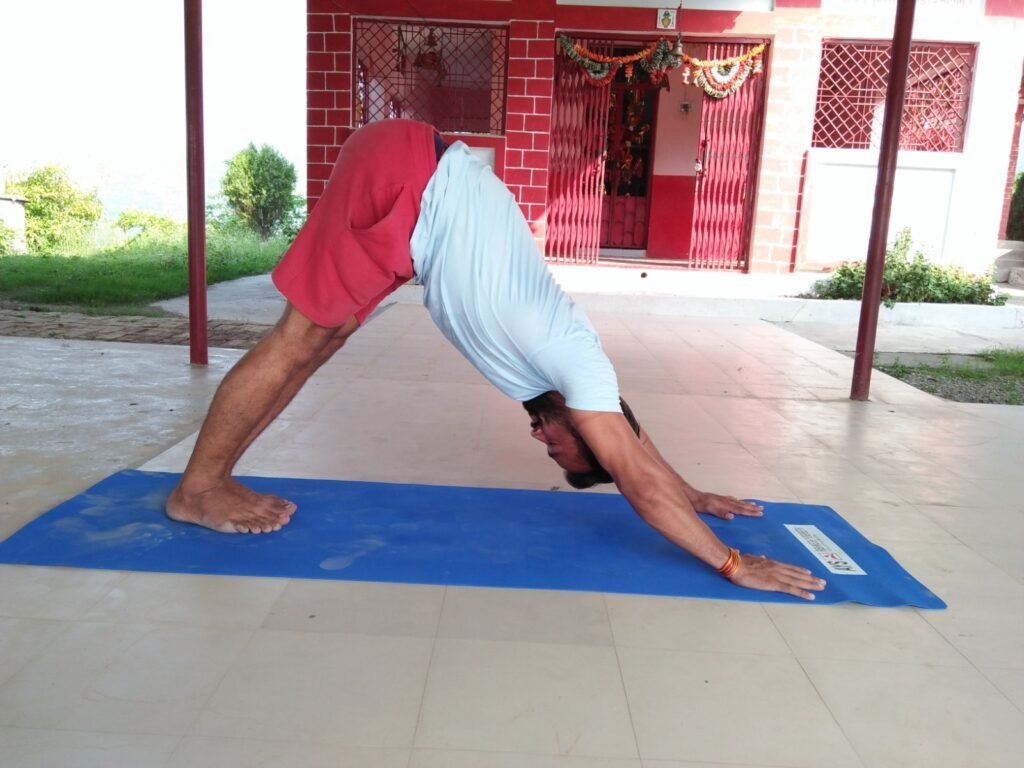
Why it works: This classic yoga position resets your whole body. From your calves to your hamstrings and all the way up your spine, it stretches the whole back of your body. To ease lower back discomfort, it’s important to let go of hamstring tension.
How to do it:
- When you’re on your hands and knees, curl your toes under and lift your hips up and back so that they make an upside-down “V” shape.
- To keep your spine long and straight, bend your knees a lot at start. Don’t worry about putting your heels on the floor.
- Press down hard with your palms while extending your fingers wide. Let your head dangle down between your upper arms.
- Take 5 to 8 deep breaths and “pedal” your feet if it feels nice.
3. The Sphinx Pose (Salamba Bhujangasana)
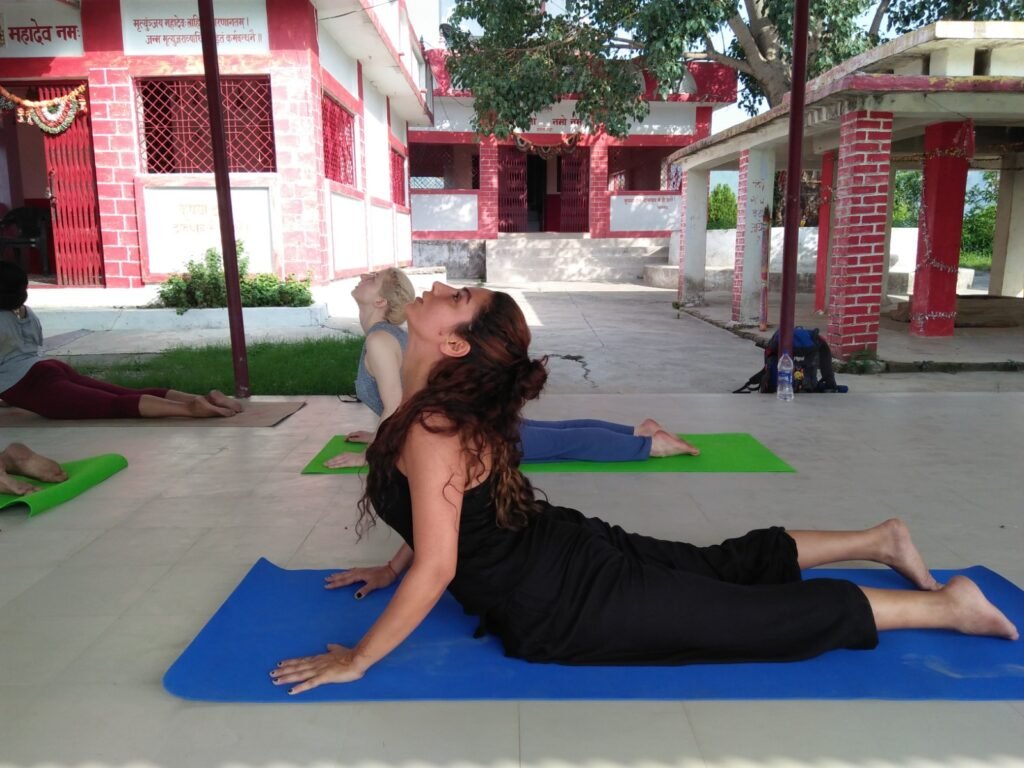
Why it works: A lot of us spend our days hunched over. Sphinx position gives you a mild, supported backbend that goes against this tendency. It strengthens the back extensors and opens the chest and shoulders.
How to do it:
- Lay on your stomach with your legs straight out behind you.
- Put your elbows right beneath your shoulders and your forearms flat on the floor, so they are parallel to each other.
- When you breathe in, slowly elevate your head and chest off the floor while pressing your pubic bone into the mat to protect your lower back.
- Relax your glutes and legs and look slightly ahead.
- Take 5 to 8 deep breaths.
4. Setu Bandhasana or Bridge Pose
Why it works: This is one of the best yoga asanas for lower back pain. Weak glutes are a major cause of lower back discomfort because they make the smaller muscles in the back do the work of keeping the pelvis stable. Bridge Pose strengthens the hamstrings and glutes, fixes pelvic tilt, and supports the whole lower back.
How to do it:
- Put your knees bent and your feet flat on the floor, hip-width apart. You should be able to touch your heels with your fingertips.
- Put your arms at your sides with your palms down.
- Push through your feet and push your hips off the floor as you exhale.
- Squeeze your buttocks and keep your thighs straight. Don’t allow your knees spread wide.
- Take 5 to 8 deep breaths, then slowly descend each vertebra one at a time.
5. Balasana, or Child’s Pose
Why it works: This is a restorative pose that gently stretches a fatigued and sore lower back. It soothes the nervous system and gives you a break.
How to do it:
- From a standing position, touch your big toes together and spread your knees apart.
- Fold your body forward and sit your hips back on your heels. Put your forehead on the mat.
- Put your arms out in front of you or let them hang by your sides.
- Take a deep breath into your back, and with each inhalation, feel your ribcage stretch and your lower back relax. You can stay as long as you want.
Creating a Long-Lasting Practice for Long-Lasting Results
The most important thing is to make these yoga asanas for lower back pain a regular part of your regimen. You don’t have to go to class for 90 minutes every day. Three to four times a week, start with just 15–20 minutes. A simple flow can look like this:
- Ten rounds of Cat-Cow
- Downward-Facing Dog (hold for five breaths)
- Sphinx Pose: Hold for five breaths.
- Child’s Pose (hold for 5 breaths)
- Bridge Pose: 2 sets of 5 breaths each
- Finish with a final Child’s Pose.
You might wish to look into the practice more deeply as you get more comfortable with it. Expert advice is really helpful for really understanding the anatomy and alignment rules that keep your back secure. Many people think that an immersion programme, like Yoga Teacher Training in Rishikesh, gives them the deep information they need to change their own practice and help others. The 200 Hour Yoga Teacher Training is not just for people who want to be teachers; it’s also for anyone who wants to learn how to do the poses correctly and safely for the rest of their life.
Living Your Yoga Outside of the Mat
The end goal is to use the body awareness you get on your mat in your daily life.
At Your Desk: Keep both feet on the floor. Picture a cord tugging the top of your head up to the ceiling. Put your shoulders back and down.
When you are standing, do Mountain Pose (Tadasana). Put your weight evenly on both feet, tighten your thighs, tuck your tailbone a little, lift your chest, and let your shoulders rest.
When you lift, bend your knees and hips while keeping your back straight and your core tight, exactly like you would for a yoga position.
You are not merely treating the symptoms of lower back pain by commencing a modest and regular yoga practice. You are fixing the problem at its source and teaching your body to support itself in a natural and effective way. You are making your body stronger, more flexible, and more resilient so that you can move without pain and stand up straight with confidence.